# Permissions
PowerShell Universal leverages permissions throughout the platform to provide fine-grained authorization against different scopes and resources. Built-in roles have a read-only set of permissions that are automatically applied to users with those roles. Custom roles can have custom permissions set. Additionally, individual users can have their own set of permissions.
Permissions are stored in the database and not as part of the `.universal` configuration files.
## Permission Identifiers
Each permission uses an identifier to authorize a user to access a resource. They are strings that utilize the scope and resource type, followed by an access type.
For example, the following would provide read access to all API features.
```
apis/read
```
Wildcards can be used in permission identifiers to include sub-scopes over multiple access types. The following provides access to all script features.
```
automation.scripts/*
```
## Managing Permissions
Permissions can be managed for an identity by clicking Security \ Permissions. You can select the identity and define a permission identifier to grant to the identity. This will blend with the permissions granted by any role assignments they may have.
Roles currently cannot be assigned permissions in the permission UI.
### Example: Assigning a Script to a Role
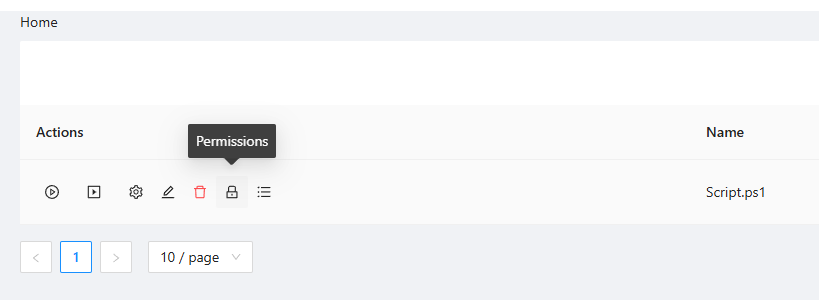
You can assign a specific script to a user by accessing the permission dialog for the script. Click the Permissions icon.
Permission Icon
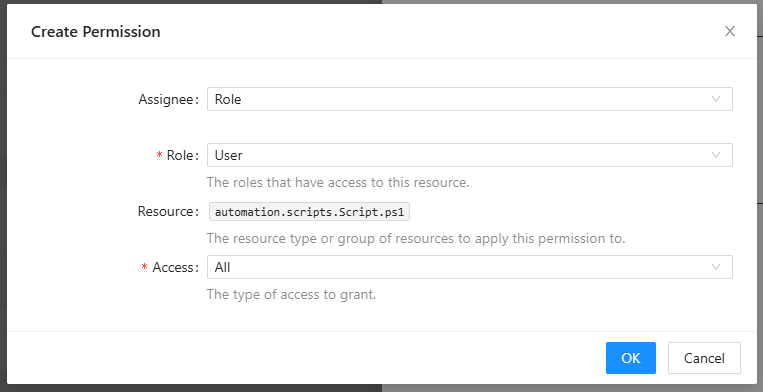
Next, click Create Permission. This will display the Creat Permission dialog. This dialog allows you to select the identity or role to assign the script to and the access you'd like to permit.
Permission Editor
The user now has access to execute the script. In order to view it within the admin console, you will also need to grant access to the pages necessary to do so.
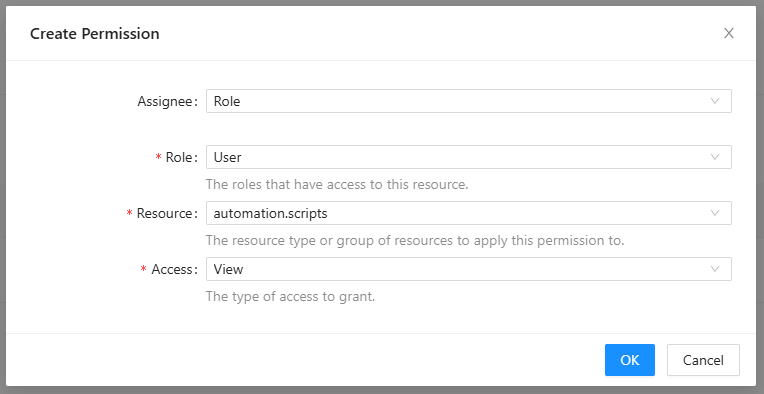
Click Security \ Permissions. Click Create Permission. Assign the View access to `automation.scripts` and `automation` to the role.
View Role
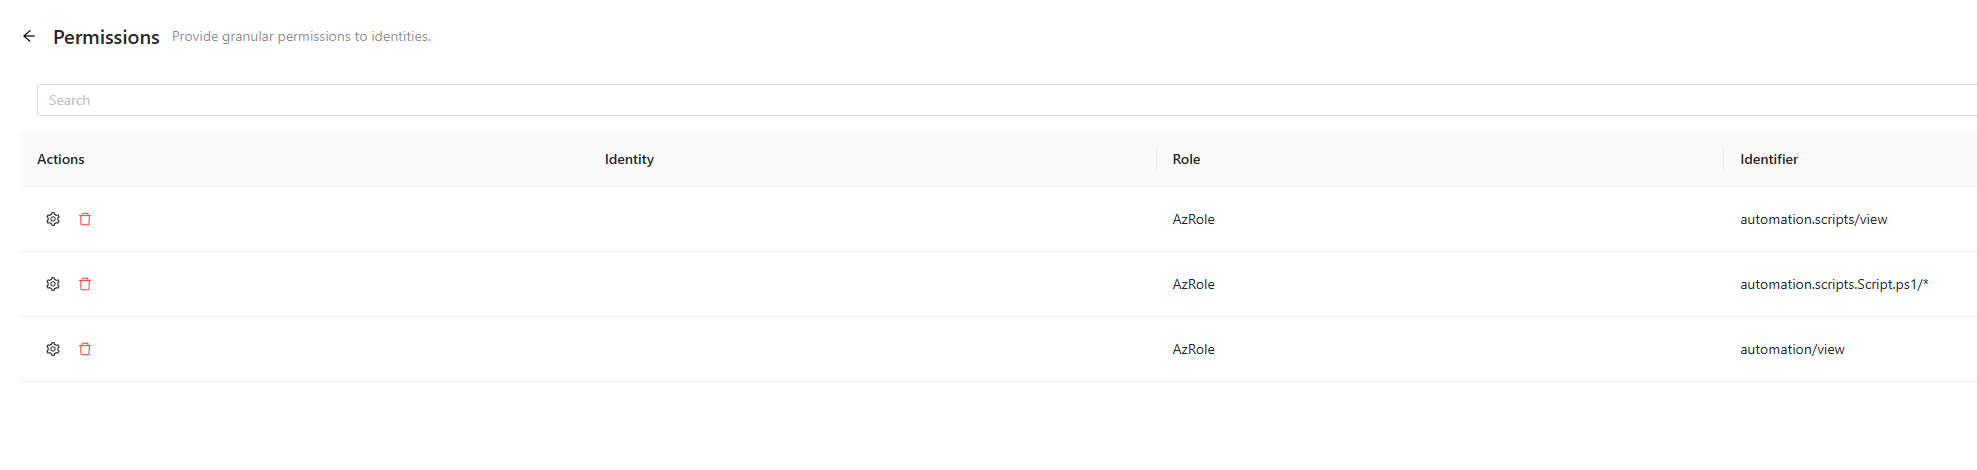
The resulting permissions should look like this.
### Example: Scheduler Role
In this example, we'll define a role that can only manage schedules.
First, create a role name Scheduler. This can be done in the Admin Console by clicking Security \ Roles and then Create New Role. Set the role name and click Ok.
Next, define the following permission for the role. Click the Properties button on the Scheduler role. This grants full access to scheduling and read access to automation.
* automation.schedules/\*
* automation/read
* automation/view
The resulting role definition is below.
```powershell
New-PSURole -Name "Scheduler" -Permission @('automation.schedules/*', 'automation/read')
```
Finally, assign the role to a user. You can do so statically, with a policy script or via role to claim mapping.
Assigned Role
## Default Role Permissions
Below are the default role permissions.
### Administrator
| Identifier | Description |
| ---------- | ----------------------------------- |
| \* | Full access to PowerShell Universal |
### Operator
| Identifier | Description |
| ------------- | ----------------------------------- |
| apis/\* | Full access to APIs. |
| automation/\* | Full access to automation features. |
| apps/\* | Full access to Apps. |
| platform/\* | Full access to platform features |
| settings/\* | Full access to platform features |
### Execute
| Identifier | Description |
| ------------------ | -------------------------------------- |
| apis/read | Read access to APIs |
| apis/execute | Execute access to APIs |
| automation/read | Read access to automation features. |
| automation/execute | Execute access to automation features. |
| apps/read | Read access to Apps. |
| apps/execute | Execute access to Apps. |
| platform/read | Read access to platform features. |
| settings/read | Read access to settings. |
### Reader
| Identifier | Description |
| --------------- | ----------------------------------- |
| apis/read | Read access to APIs. |
| apps/read | Read access to Apps. |
| automation/read | Read access to automation features. |
### API Editor
| Identifier | Description |
| ---------- | ------------------- |
| apis/\* | All access to APIs. |
### API Reader
| Identifier | Description |
| ---------- | -------------------- |
| apis/read | Read access to APIs. |
### App Editor
| Identifier | Description |
| ---------- | ------------------- |
| apps/\* | All access to apps. |
### App Reader
| | |
| --------- | -------------------- |
| apps/read | Read access to apps. |
---
# Agent Instructions: Querying This Documentation
If you need additional information that is not directly available in this page, you can query the documentation dynamically by asking a question.
Perform an HTTP GET request on the current page URL with the `ask` query parameter:
```
GET https://docs.powershelluniversal.com/security/enterprise-security/permissions.md?ask=
```
The question should be specific, self-contained, and written in natural language.
The response will contain a direct answer to the question and relevant excerpts and sources from the documentation.
Use this mechanism when the answer is not explicitly present in the current page, you need clarification or additional context, or you want to retrieve related documentation sections.